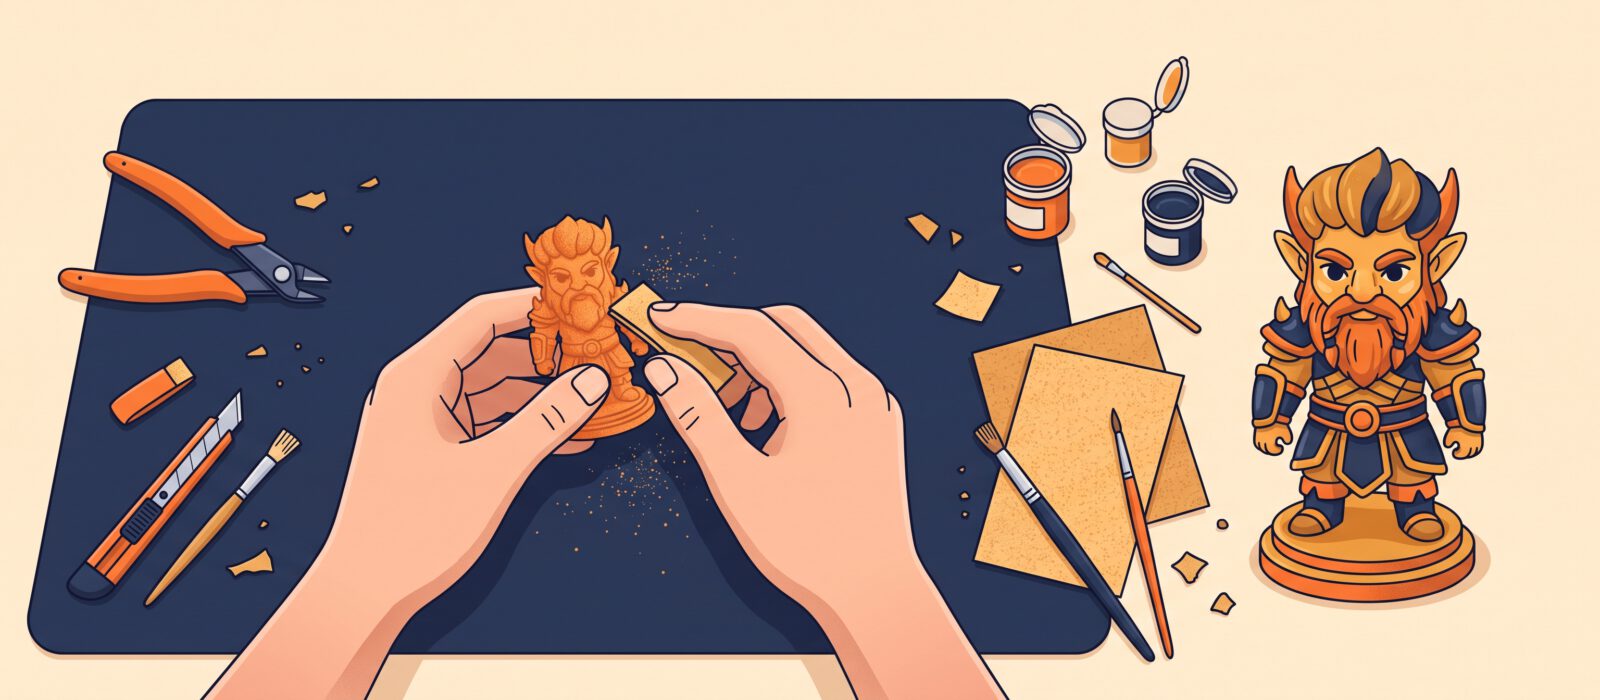
A print coming off the bed is only the first step. A little post-processing, such as removing supports, sanding and painting, can make the difference between a prototype and something you are proud to display. This tutorial walks you through the basics step by step.
Safety first
- Wear safety glasses when cutting supports. Plastic pieces can fly.
- Cut away from your hands and body, and use sharp tools with care.
- Wear a dust mask when sanding, and sand in a ventilated space.
- Use spray paint and primer outdoors or in a well-ventilated area, with a respirator rated for paint fumes.
Tools and supplies
- Flush cutters and needle-nose pliers
- Hobby knife or deburring tool
- Sandpaper in 120, 220, 400 and 800 grit
- Sanding sponges or a small file set
- Filler primer (spray)
- Acrylic paint, brushes or an airbrush
- Clear coat (optional)
Step 1: Remove the print from the bed
Let the bed cool. Many plates release prints as they cool. With flexible plates, flex the plate gently. Use a scraper only if your plate maker says it is safe, and push it under the edge of the print at a shallow angle.
Step 2: Remove brims and supports
- Peel off the brim or skirt by hand or with pliers.
- Snap off larger supports in sections with pliers. Tree supports usually come away easily.
- Trim leftover nubs with flush cutters, keeping the flat side against the model.
- Clean remaining marks with a hobby knife, using light scraping strokes.
If supports are fused, work slowly. Pulling hard can break thin parts.
Step 3: Clean up stringing
Thin strands between features can be trimmed with flush cutters or a hobby knife. Avoid using flames or heat guns to remove them, since they can warp the print and create fumes.
Step 4: Sand in stages
Sanding hides layer lines. Work through the grits instead of jumping ahead:
- 120 grit: removes support marks and the roughest ridges.
- 220 grit: smooths the surface.
- 400 grit: prepares the surface for primer.
- 800 grit: optional, for a very smooth finish.
Wet sanding with a little water can reduce dust and avoid heat build-up, which can soften and smear plastic. Always sand gently and let the print cool if it feels warm.
Step 5: Fill and prime
Spray the print with a filler primer in light, even coats from about 20 to 30 cm away. The primer fills fine layer lines. Let each coat dry, then sand lightly with 400 grit. Repeat once or twice for a smooth surface. Stop when the lines are no longer visible.
Step 6: Paint
- Use thin coats of acrylic paint. Two or three thin coats look better than one thick one.
- Let each layer dry fully.
- For details, use a small brush. For smooth color, an airbrush or spray paint works best.
Step 7: Seal
A clear coat protects the paint. Matte, satin and gloss varieties are available. Test on a scrap print first to confirm that the paint and the clear coat are compatible.
Other finishing ideas
- Print in a better orientation. Reducing visible layer lines starts in the slicer.
- Use silk or matte filaments. Some need almost no finishing.
- Join parts. Use cyanoacrylate (super glue) or a plastic-appropriate adhesive for multi-part models.
- Heat-set inserts. Add threaded metal inserts for strong screw points.
A quick routine for beginners
For most prints, remove supports, sand lightly with 220 grit and stop. For display pieces, add primer and paint. Not every print needs the full treatment, so choose the level of finishing that suits the purpose.